Showing posts with label corset construction. Show all posts

Sunday, April 19, 2015

The Fix

This is just a quick post to update how I solved the wrinkles problem on the spandex area of my latest corset. How I salvaged it to make it wearable. If you remember how ugly it looked (here's a reminder). Such a disappointment after so much work.


I couldn't do much unless I was willing to pull it apart and redo the side panels, I really wasn't willing to do that. So I decided to go with the wrinkles. I simply changed their direction a bit. Little pinched here and there made an interesting texture and made it look intentional. Viola, problem solved. It may look a little weird, but when I put the whole outfit together, I think it will work just fine.  


So what I've learned? Because that's what I'm writing this all down for. When working with spandex, because I probably will again, flat lining it to a woven just doesn't cut it for stability. I'll need to fuse it to something strong next time. If it has a coating that I'm afraid of melting, I'll need to use a barrier while fusing to protect it. 

One last comment. I really love the shape of this corset. I think I'm getting close to perfection with the pattern and that makes me so happy.

Saturday, April 4, 2015

Corset #4 or blankety blank swear words!

For this corset I decided to use a latex looking spandex, clear sequins, and fishnet. I also used a black cotton sateen to stabilize the spandex and colorize the sequins. While I'm learning the trade of corset making, I'm trying to use up the fabrics I have in my storage. I gave the flat felled or the welt method a second chance on this one, but I have to say that I really don't like it. The feeling of less control was even more apparent on this corset because of my fabric choices. 


My original idea was to cover all of the sequins with the fishnet, but I found that I didn't have enough. Luckily I recycle. I keep anything that I think is pretty no matter if it's out of style or has a hole in it etc. because I can always use it for something else. This black lace was an old nightie. I had enough to add a little more variety to the design and to fix my problem.


I decided to put a busk in this corset. In the past I've been omitting them to save money. I felt like the pattern on this was at least close to perfect so I felt like it wouldn't be a waste of money anymore. I put the right side in and secured the waist tape. All of my panels were prepped by fusing EK130 interfacing to the black cotton sateen and then sewing the layers of fashion fabric on top of it. 


The right side went together without a hitch, but when I got to the left side I messed up. As you can see from the picture below, I had to unpick seams and patch holes. I put the busk in the wrong way. I should have made the prongs sit close to the edge. So I sewed these up and poked new holes closer to the center front seam. The fabric was very forgiving and you can't tell that I had to do this from the front side.


I put in boning channels using the sandwich method (which I like) on the two front pieces and then set to work on getting the whole thing put together. 


When I got to the side seams I decided that I'd let panels 3 and 4 float. This was an experiment to see if I could make it less bulky in this area. I felt seamed the strength layer so that a boning channel could be placed there. With things trimmed and secured, I moved on to the next pieces. By the way, the little red threads are from sewing the strength fabric up as a mock up. It fit great so I used it for the real corset. 


The center back is what annoys me the most about this method. When you get to the end there's a raw edge and so you have to add another piece and fold it back into the inside of the corset. This created a little bubbling of the under layers because I had roll pinned the entire way through. So I have a back tab ready for grommets, but there's bulk back there because the under layer is now messed up. Pthhhh!


So far I think the design at least is pretty. With fabric like this it can look rather fetish like, ha, it does I know.


I put the bones in and secured them so they would be taught and I wouldn't have any (or minimal) horizontal wrinkling. I'm still working with a modge podge of sizes so some of them work better then others. You can tell by the way that I did these that some are longer then others.


 I put the bias on with machine, skipping over the bones like I did last time. Then going back and hand stitching the skipped parts. I folded the bias over and hand stitched it to the inside to finish it off. I then cut a strip of the latex spandex and put the black and rose lace over the top of it to make a ruffle trim. I hand tacked the ruffle onto the bias finish. 


The front side view shows a little more of what's going on here. 


With all the work done it was time to put in the grommets. Something I've learned is that you need to have an even amount of holes on each side of the corset. Example, 12 or 14 not 13 or 15. You can't lace it in the style I like, which is inverted bunny ears, if it's uneven.  So once I figured out where the holes would be, I transferred them to the  fabric. I can never mark them in the exact place they're supposed to be, but I can eyeball the middle rather well when I'm punching them out.


The Finished Corset !

What I love.....I love the way it fits, it's my most comfy to date. I love the colors and textures. I love the sequins under the lace, I'll definitely be doing that again. I love the ruffles. The bulk in the waist isn't an issue like it was in the last one. 


This corset isn't pulled to it's tightest yet, I still need to season it, but the waist reduction will be six inches.

What I'm sad about.... Oh those horrible wrinkles in the latex panels, I'm going to have to find a way to control stretchy materials if I'm going to use them in corsets. I still need to understand what's going on with the wrinkling at the waist in the middle of panels 4 and 5. It's been a problem since the beginning.  I found myself using a lot of profanity on this one. I've worked with these fabrics before so I think the frustration was mostly in the method used. I really don't like the flat felled method, goodness, I said that before didn't I? 


I'm not completely done with this yet, my new task is to come up with a way to make the wrinkling spandex look like it's apart of the design. I'll post that when I come up with a good idea.

Sunday, March 8, 2015

Corset #3 or I found my waist

Understanding your body shape is so important and it's been one of my biggest difficulties ( though I totally rock other people's figures). While making the FR contest mock up I realized the waist tape put pressure on my hip bones, so I moved it up 1 1/4 inches and voila, I found the squish I was looking for. I also discovered that my pelvis tilts so my back waist is higher then the front. I took all of my new discoveries into account as I drafted my new under bust pattern.

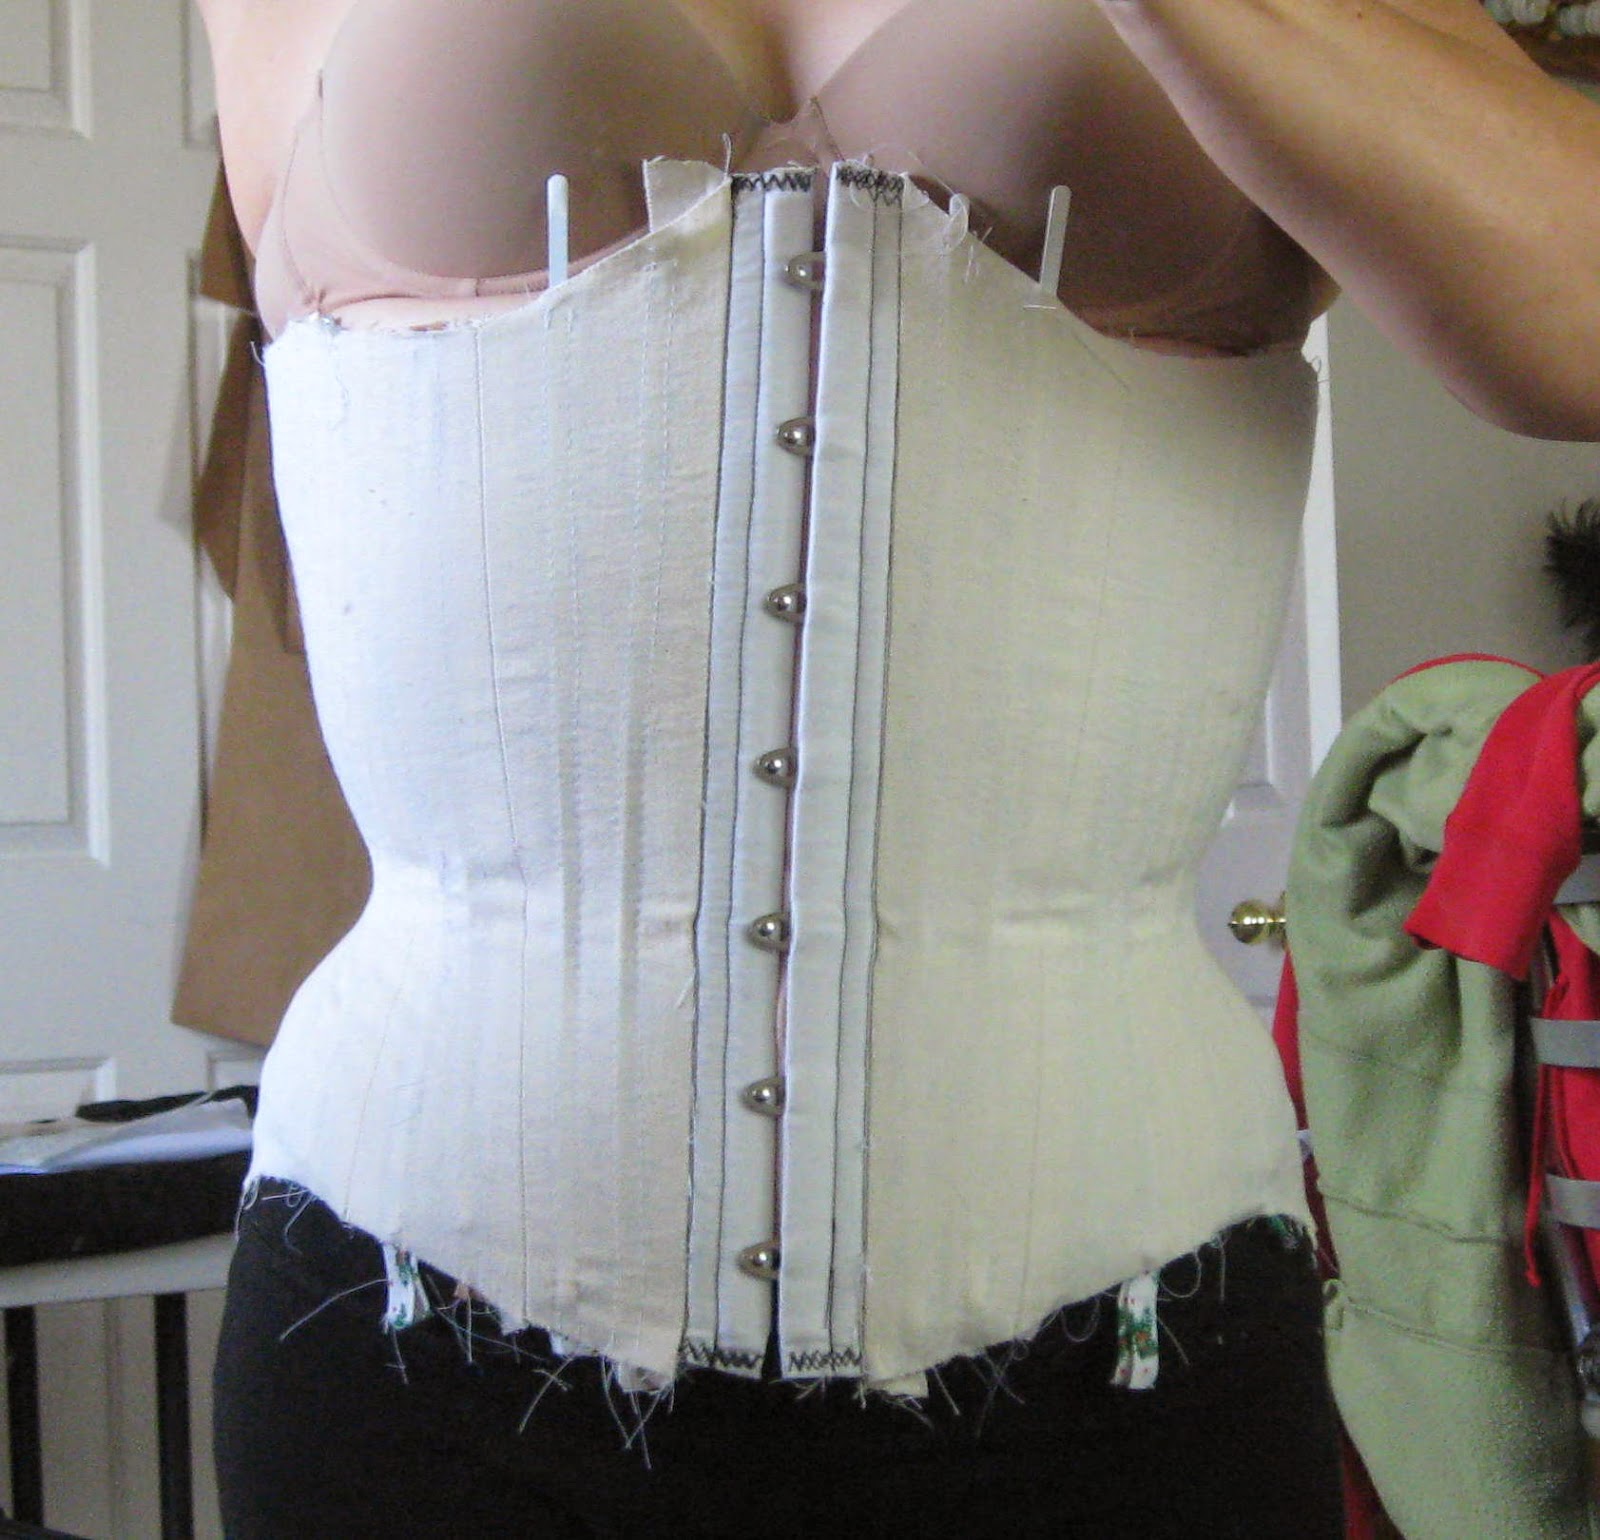
This is what my mock up looked like for the last two under bust corsets I blogged about.


This is the new one. Quite an improvement in both shape and comfort.


I wanted to use up the rest of my black cherry silk , I'd used it for some of my final Etsy designs and thought that I'd put some of the pieces with this project for a whole set. I didn't have that much left so I cut this pattern down to make a cincher instead of a full under bust.

I decide to use a different method of construction on this one as well. It's called the flat felled or the welt method. To get started I put my layers together and positioned the waist tape in between them and then sewed in my bone channels.

This is the fashion side.


This is the inner side and strength layer.


This is a look at all of the layers used. I have the cherry silk backed with EK 130 interfacing (I like the tiny bit of stretch it allows). I put an inner layer of cotton sateen in to have a barrier between the silk and the heavy canvas (which is the third layer) so the bones have a more reinforced channel.


With the front panel done, I sandwiched the seam of the next panel by sewing the fashion layer on one side and the strength layer on the other. So it's basically finishing the seams by encasing them inside the corset. Every thing is attached this way, nothing is floating.


I added an invisible channel here.


Then I folded it over and roll pinned so that it would be smooth. This method allows for turn of cloth, so that the under layers don't bunch up when the corset is on the body.


I attached the next panel the same way and followed the process to the end. I also top stitched a channel into the seams as I went, thus creating the flat felled or welt seam.
You can see the felled seams that act as channels here.


I'm trying to use up some of the odd pieces of boning I have laying about, so the bones are in all different sizes. Some of them fit well and some of them are too long. I secured them with really ugly stitching so that I don't get any movement when the corset is done. It's not pretty but it's going under the binding any way.


The corset was now complete and I thought it was so pretty at this point, I took a picture. I love the way silk behaves under light and I love this color.


While sewing the binding, I skipped over those long bones and then went back and hand stitched between the machine stitches. I just caught the outer layer to the bias strip so that when the bias was folded over it looked right.


Then I pressed it to the other side and hand stitched the binding down. I like to hand stitch the binding, I think it's a cleaner finish, I don't like the way a machine stitch looks on the fashion side of the corset.


The last step was to put the grommets in and I was all done.

I laced it up and it didn't fit. I used drop cloth as my mock up material, it might have to much stretch in it. I think I need to start using the heavy canvas for mock ups so that I can be extra extra confident in the finished size. Also, stress makes me blow up like a balloon. Ha! We've all been there, I'm not to worried, and when life settles down I'll be less swollen. It's pretty and eventually it will be wearable.

Ok, so the things I'd change. In the front I think I cut it down just a little too much. Others might like it, but for me personally, I like it to be up to my bra line. I know that technically that's not a cincher. and I did only have a small amount available, so it was necessary to cut it down. I might need to work on this one a little more to get a shape I like. I think I'd also put some boning on the center front line.


The side view is dramatic and I like the slope. If I change the height of the front I might not. The side seam is too bulky for my taste and I know the pulling there happened because of that. If I use this method of construction again, I'm going to need a better strategy for the side seam.


I like the height of the back and I think the lower back works well with the frilled panties that I like to put with everything.  


I have to put flowers with everything. I love them, they're cute, and I think they're essential to my aesthetic. I put a matching flower with a slight contrast with this cincher. I think it looked better then one of a different color.


I made this to go with my shelf bra and sided frilled panties.
 It will be a fun set for ......well, anything really.

I'm not completely happy (ha! ridiculous perfectionist talking here), but as I've said before, I'm still learning and I think I'm getting there.