
This is what my mock up looked like for the last two under bust corsets I blogged about.
This is the new one. Quite an improvement in both shape and comfort.

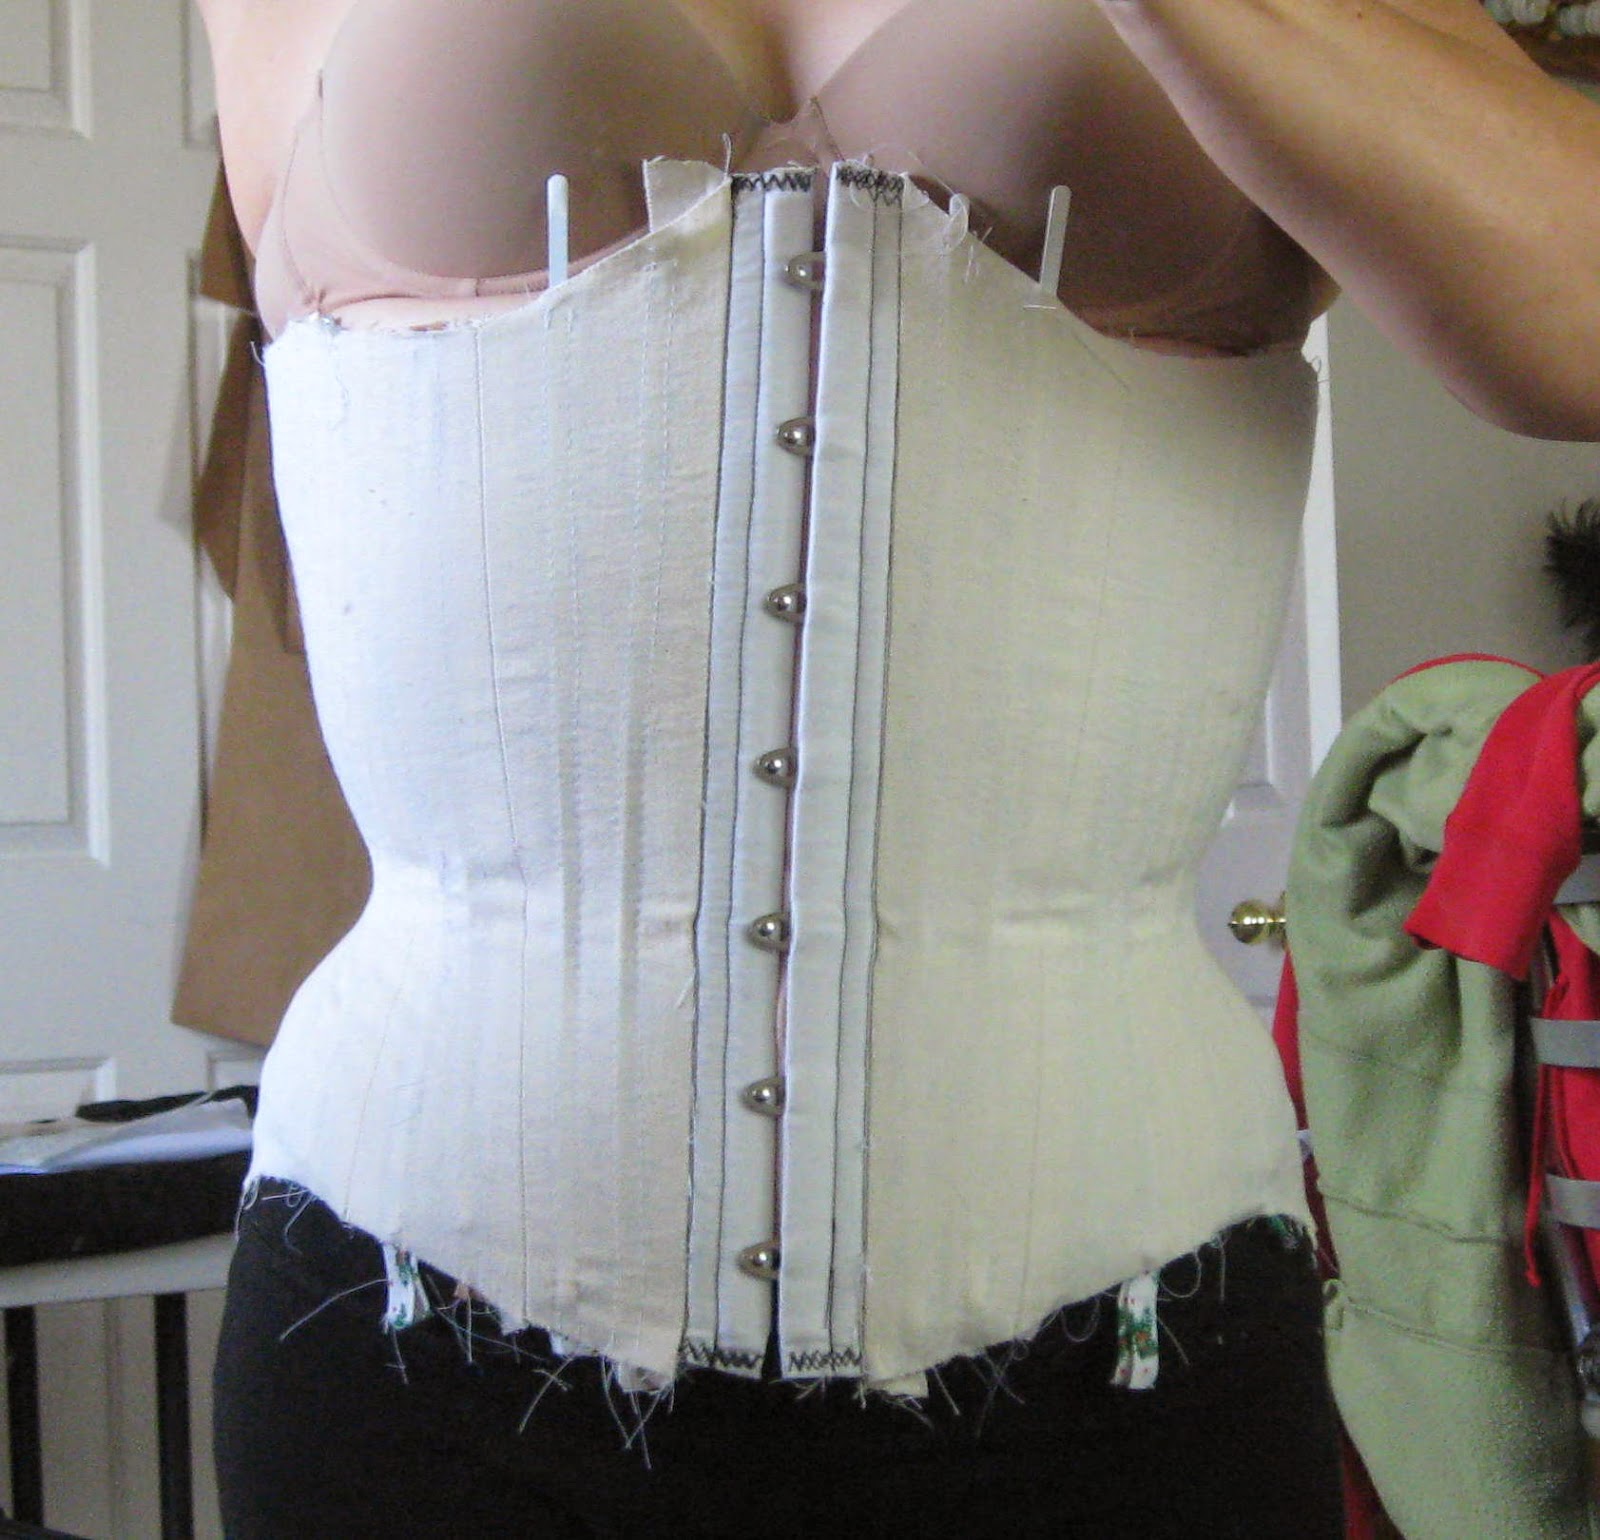
This is the fashion side.

This is the inner side and strength layer.

This is a look at all of the layers used. I have the cherry silk backed with EK 130 interfacing (I like the tiny bit of stretch it allows). I put an inner layer of cotton sateen in to have a barrier between the silk and the heavy canvas (which is the third layer) so the bones have a more reinforced channel.

With the front panel done, I sandwiched the seam of the next panel by sewing the fashion layer on one side and the strength layer on the other. So it's basically finishing the seams by encasing them inside the corset. Every thing is attached this way, nothing is floating.


Then I folded it over and roll pinned so that it would be smooth. This method allows for turn of cloth, so that the under layers don't bunch up when the corset is on the body.

I attached the next panel the same way and followed the process to the end. I also top stitched a channel into the seams as I went, thus creating the flat felled or welt seam.
You can see the felled seams that act as channels here.


The corset was now complete and I thought it was so pretty at this point, I took a picture. I love the way silk behaves under light and I love this color.

While sewing the binding, I skipped over those long bones and then went back and hand stitched between the machine stitches. I just caught the outer layer to the bias strip so that when the bias was folded over it looked right.

Then I pressed it to the other side and hand stitched the binding down. I like to hand stitch the binding, I think it's a cleaner finish, I don't like the way a machine stitch looks on the fashion side of the corset.

The last step was to put the grommets in and I was all done.
I laced it up and it didn't fit. I used drop cloth as my mock up material, it might have to much stretch in it. I think I need to start using the heavy canvas for mock ups so that I can be extra extra confident in the finished size. Also, stress makes me blow up like a balloon. Ha! We've all been there, I'm not to worried, and when life settles down I'll be less swollen. It's pretty and eventually it will be wearable.
Ok, so the things I'd change. In the front I think I cut it down just a little too much. Others might like it, but for me personally, I like it to be up to my bra line. I know that technically that's not a cincher. and I did only have a small amount available, so it was necessary to cut it down. I might need to work on this one a little more to get a shape I like. I think I'd also put some boning on the center front line.

The side view is dramatic and I like the slope. If I change the height of the front I might not. The side seam is too bulky for my taste and I know the pulling there happened because of that. If I use this method of construction again, I'm going to need a better strategy for the side seam.

I like the height of the back and I think the lower back works well with the frilled panties that I like to put with everything.

I have to put flowers with everything. I love them, they're cute, and I think they're essential to my aesthetic. I put a matching flower with a slight contrast with this cincher. I think it looked better then one of a different color.

I made this to go with my shelf bra and sided frilled panties.
It will be a fun set for ......well, anything really.
I'm not completely happy (ha! ridiculous perfectionist talking here), but as I've said before, I'm still learning and I think I'm getting there.

No comments:
Post a Comment