
My brother in law plays Santa every year at our family party and always with a borrowed wig and hat. This summer my sis bought a santa pattern for a buck, and an old red mattress cover for $7at a yard sale with the thought that someday she'd make him a proper suit. Well me being who I am (two weeks before Christmas) said " I've got a buckle from a purse and some black latex looking spandex (don't ask) I could make it up for our party". "Oh and I also have that fur coat you gave me". When Sis moved into their new house, the previous occupant left some pretty cool stuff and I got some of it. I'm not a big fur fan, but I believe that once the poor animal is dead what it left behind shouldn't be wasted. Also, it was free, which made the price of making this costume pretty dirt cheep, because the goal was not to spend a fortune. We bought some paint, some thread, and some needles total expense around 24 dollars. So here's what I did.
 |
The Raw materials, Wig (left over from Halloween) , Mattress cover, Fur coat, and Black Latex.
 |
| . |
I trimmed the wig and glued the left over into a folded piece of bias tape. I used flexible fabric glue , the kind you use to put jewels or glitter on your clothes. I'm hoping that it holds up. It passed the boiling water test (scroll down) so I feel pretty confident about it.

I sliced a thin hole in the wig to accommodate the lips, then stitched all around it to stop raveling and hair loss. I had to adjust the size a little when I did a fitting, but it basically worked for the size of his mouth.

I rolled the hair up in permanent rods and boiled a pot of water. I took the water off the heat and then dropped the bundle of thermoplastic fiber into it. That's right, these cheap wigs are plastic and hot water melts it. I left it for 2 minutes and then carefully fished it out. I did the same with the strip of left overs that I made.

When the wigs had cooled enough to touch, I started to unroll the curlers. The glue I had used got wet, of course it did, it was difficult to dip with out that happening. I was a little worried but nothing shifted or fell out.
The next step was to attach it to the hat. My idea was to make it all one piece so that nothing got separated or lost. But, I also wanted to make it washable, so it needed to break down easily.
I put snaps on the bias hair piece and sewed it to the outside of the hat, so it wouldn't take up any of the original head measurement.

I put elastic on the inside of the hat to attach the beard to. This required a fitting so that it would be in exactly the right place so that the beard wouldn't droop slide or shift. I added snaps to the elastic and beard in two places for added strength.

Fur is a bit tricky, you have to know how to work with it, but once you do the hardest part is pushing the needle through the hide. You don't need to cut seam allowance to piece it together because it's attached with a whip stitch. When you do cut it out, cut from the back so the pile ( the furry plush stuff) isn't damaged and it can blend together to look seamless when it's put together.

I did leave seam allowance on the outer edges so I could sew a binding on. I cut the pile off of this area so there would be less bulk in the seam.

I used a heavier needle (size 90) and my zipper foot to apply the binding. There are special leather needle you can get, but I was on a budget and they tend to be more expensive. I used a long stich so there would be less chance of the stitching pulling out and cutting through the leather.

Then I put glue on the seam allowance edges.
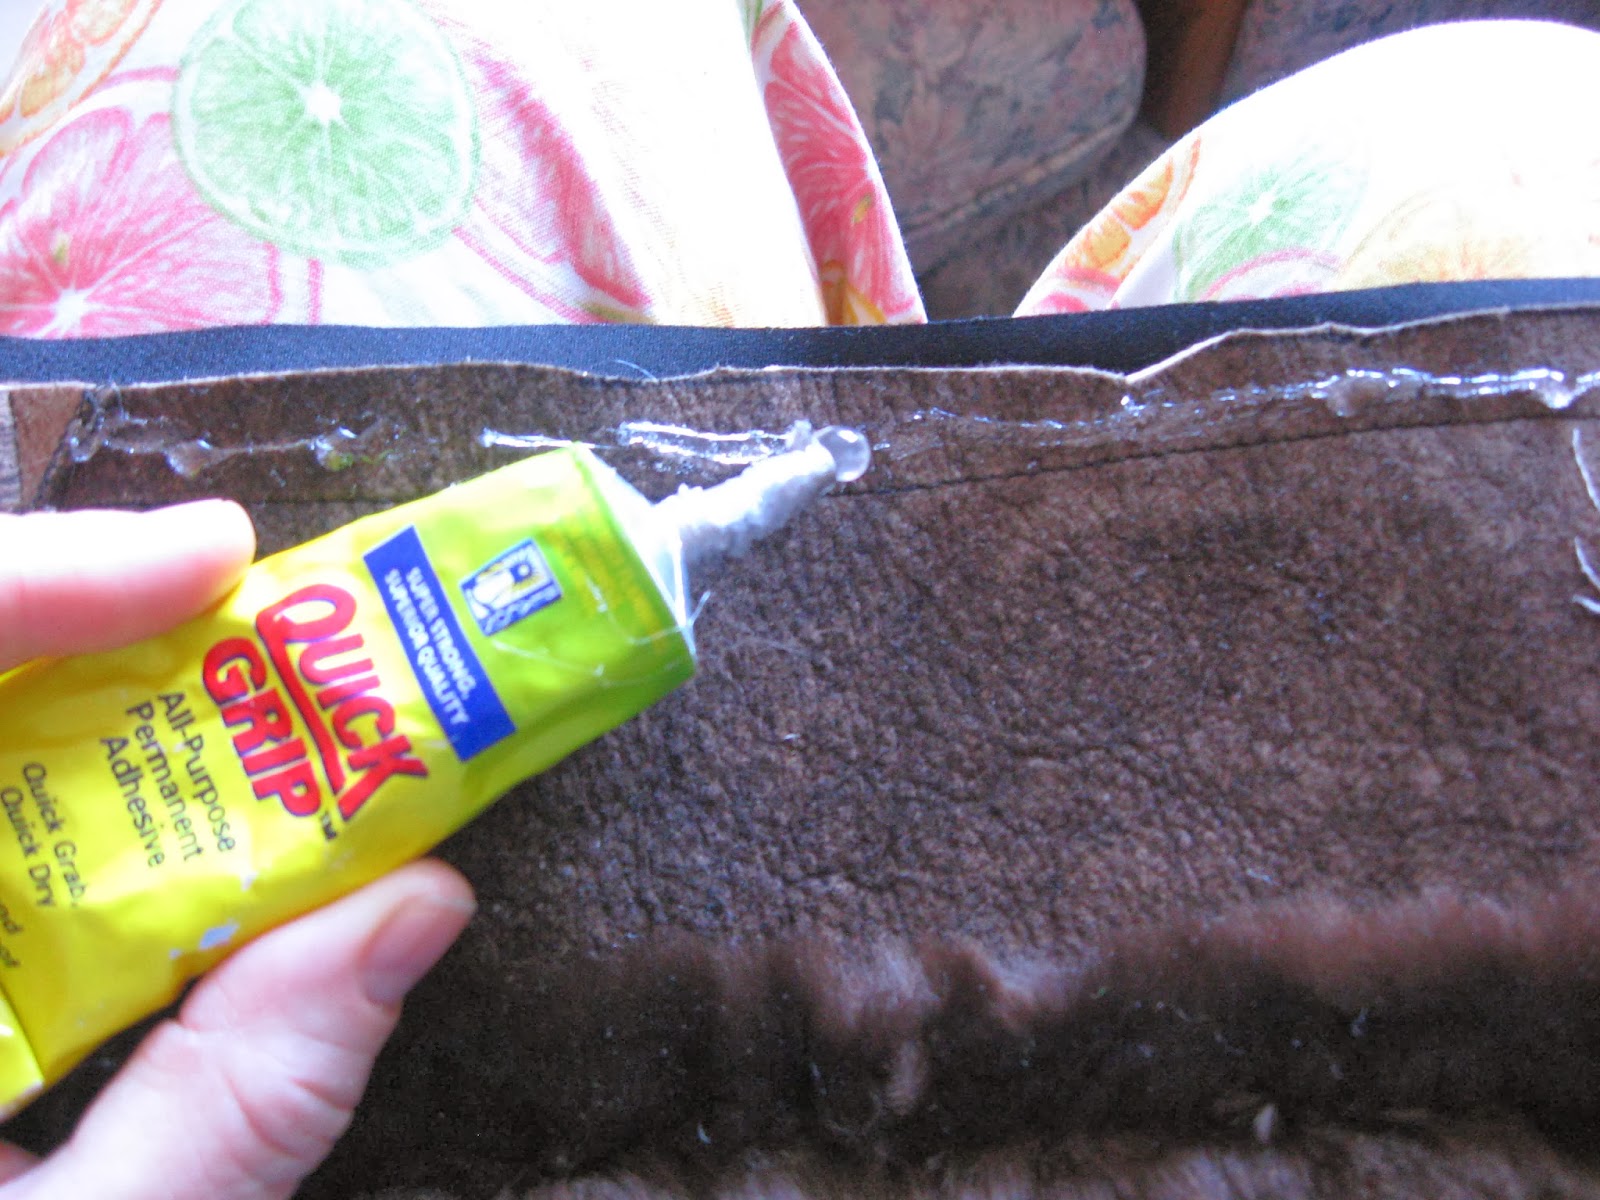
I turned it over and clamped it down to make a finished edge.

Next, I hand stitched the binding to the fur. Traditionally there would be some wadding between the fur and the binding, but it wasn't in the budget and I was in a hurry as well. The wadding protects and helps stabilize, but this costume will be used once a year and is not an everyday garment so I don't need to worry about it keeping it's body.

The last step was to apply the fur to the hat. I hand stitched it to the areas that the wig wouldn't be attached and just above the snaps. It will breakdown completely when the thing needs to be cleaned.

The next post will be of the finished suit.
No comments:
Post a Comment